Art Talk Tuesday
The last few weeks I have been exploring woodblock printing. I've carved linoleum/wood blocks, made prints and studied masters of this art form . It's a rather simple process.
Today I thought I would share some information about how one gets started in woodblock printing.
Supplies
Michael's Craft store and Dick Blick, both carry the basic supplies. First off, you need a substrate to carve. They range from linoleum sheets, linoleum veneers adhered to a woodblock to plain chunks of rubber. Next, you need a carving tool. Speedball makes a cutting tool that has several size carving blades. A brayer is needed to spread the ink, maybe get two. Lastly, you will need ink.
Dickblick.com has basic information on printing making. ( videos)
http://www.dickblick.com/block/printing/#watchrelatedvideos
Rubber blocks and Linoleum blocks.
Cutting tool and brayer.
Inks
Once you have the supplies it's time to jump in. Really, that's just what you have to do! Draw a design on a carving block. Just remember it will print the mirror image. Words must be carved backwards!
I usually stand when I'm carving. Always push the blade away from your body, it will keep you from getting cut. Basically, it's more of a digging, than carving action. It might take some practice and a couple of projects before you master the process.
As you have probably notices, the blocks that are available for carving are rather small. I like big project. When I saw this next photo in a book, I knew I had to figure out how to make a large print.
I then found this great bit of knowledge in the same book. Cardboard print making!
A design is drawn on corrugated cardboard. The top and middle layer removed, carved out. Then a layer of polyurethane is applied to seal the surface. Now the cardboard is less absorbent and hard. Genius!!!
Next, the surface is inked and the design is printed on to paper.
This book from my local library has been a wealth of information.
I plan on trying the cardboard ink printing process very soon. At the moment I've become sidetracked from printing. I decided to revisit, Fly Me to the Moon. The remix is in progress!
You would think I have enough projects going on, but I guess I don't because I've made arrangements with a local potter to use her studio. I want to make ceramic fish!
Stop back soon, who knows what I'll be up to next!
Today I thought I would share some information about how one gets started in woodblock printing.
Supplies
Michael's Craft store and Dick Blick, both carry the basic supplies. First off, you need a substrate to carve. They range from linoleum sheets, linoleum veneers adhered to a woodblock to plain chunks of rubber. Next, you need a carving tool. Speedball makes a cutting tool that has several size carving blades. A brayer is needed to spread the ink, maybe get two. Lastly, you will need ink.
Dickblick.com has basic information on printing making. ( videos)
http://www.dickblick.com/block/printing/#watchrelatedvideos
Rubber blocks and Linoleum blocks.
Cutting tool and brayer.
I usually stand when I'm carving. Always push the blade away from your body, it will keep you from getting cut. Basically, it's more of a digging, than carving action. It might take some practice and a couple of projects before you master the process.
As you have probably notices, the blocks that are available for carving are rather small. I like big project. When I saw this next photo in a book, I knew I had to figure out how to make a large print.
I then found this great bit of knowledge in the same book. Cardboard print making!
A design is drawn on corrugated cardboard. The top and middle layer removed, carved out. Then a layer of polyurethane is applied to seal the surface. Now the cardboard is less absorbent and hard. Genius!!!
Next, the surface is inked and the design is printed on to paper.
This book from my local library has been a wealth of information.
I plan on trying the cardboard ink printing process very soon. At the moment I've become sidetracked from printing. I decided to revisit, Fly Me to the Moon. The remix is in progress!
You would think I have enough projects going on, but I guess I don't because I've made arrangements with a local potter to use her studio. I want to make ceramic fish!
Stop back soon, who knows what I'll be up to next!


Oh, I just saw some of those speedball supplies being used in a video and I can't WAIT to try it myself! Everything on the page being completely original... that's truly groovy.
ReplyDeleteCan never have enough projects, then when one is resting you can pursue another. Love this.......xox
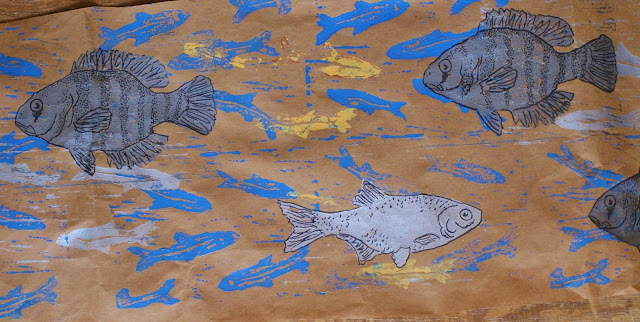
ReplyDeleteThat first picture sure ain't of any of the places I have tried to fish. (grin)
ReplyDeleteFish group together for artist, not fishermen. (grin, back at you!)
DeleteOK. . . Next time I go fishing I will also take my paints and a canvas. Do you think that will work?
DeleteNice post Jill! Very interesting about cardboard carving! Loving all your different projects going on! Keep it going!!
ReplyDelete